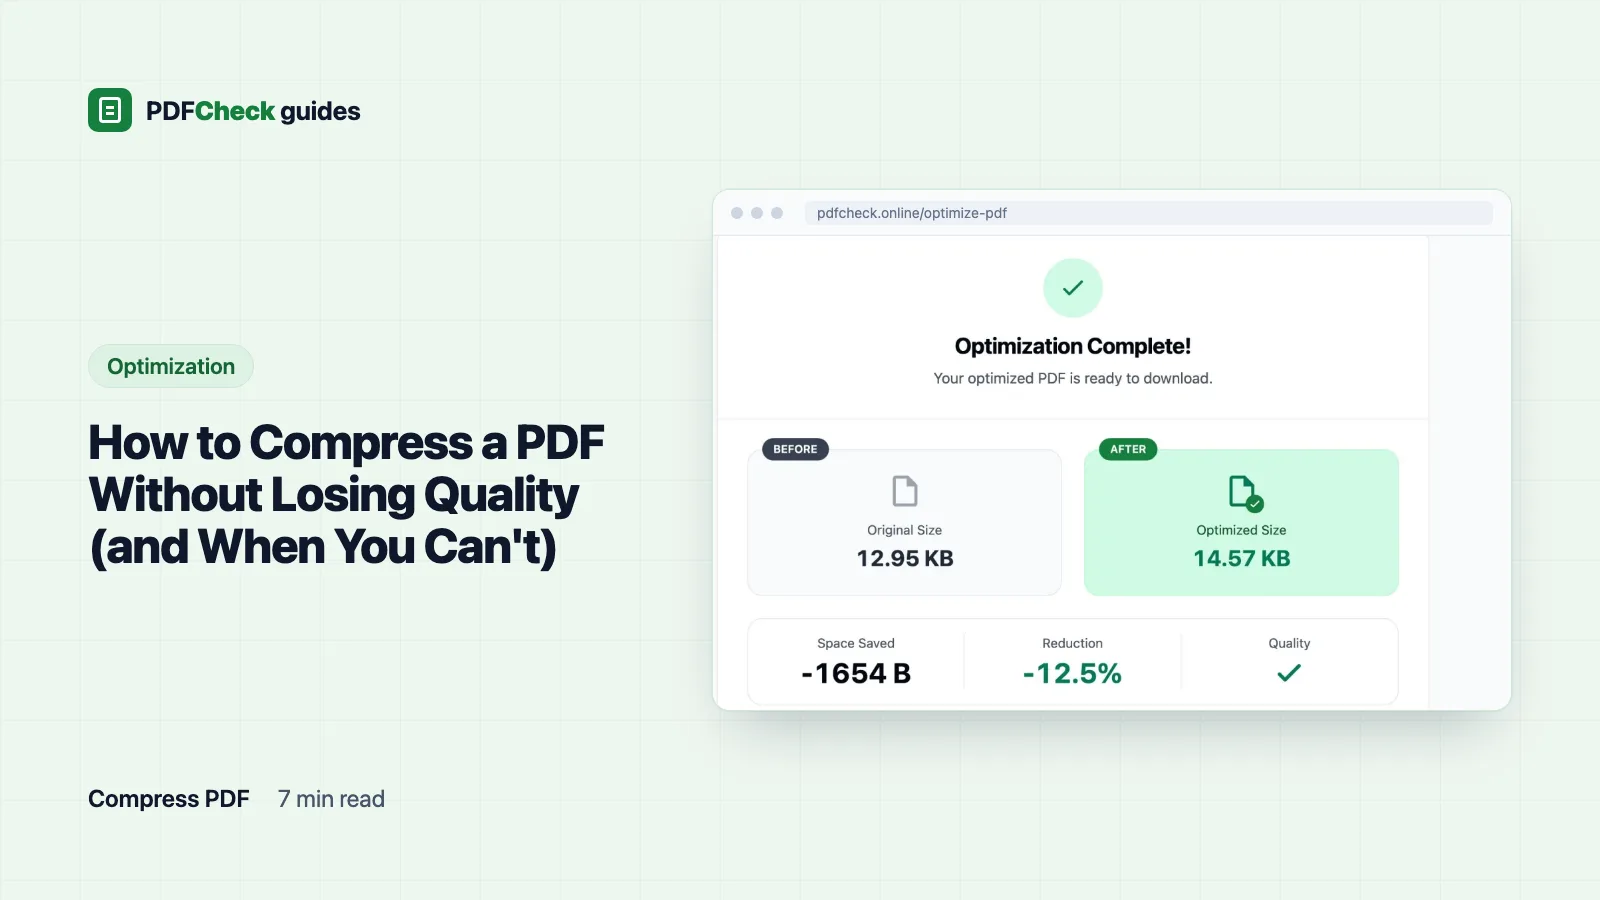
"Without losing quality" is only possible when a PDF carries more image resolution than anyone will see. Lower that resolution to what the screen or printer needs and the file shrinks a lot. A PDF that is mostly text has nothing to give up, and can come out larger. When I ran our 12.95 KB text-only sample.pdf through the Balanced level, it came back at 14.57 KB, 1.6 KB bigger. Keep both outcomes in mind and the rest is straightforward.
Where the bytes are
Images, nearly always. Photos saved at print resolution, colour scans of black-and-white paper, the same logo stored again on every page, and whole fonts embedded where a subset would do. Text and vector drawings are tiny by comparison, which is why they stay sharp at every level.
What each level tells Ghostscript
The PDF optimizer runs Ghostscript's pdfwrite device with a fixed set of flags and changes only the -dPDFSETTINGS preset. The fixed part is -dCompatibilityLevel=1.4, -dDetectDuplicateImages=true, -dCompressFonts=true and -dSubsetFonts=true. The preset decides how far images are downsampled and whether fonts that the file only names get embedded. The last column shows what happened to one 2480 x 1754 pixel photo sitting on an A4 page at 332 pixels per inch.
| Level on the page | Ghostscript preset | Image target | That photo afterwards |
|---|---|---|---|
| Aggressive | /screen | 72 ppi | 538 x 380 px |
| Balanced (default) | /ebook | 150 ppi | 1122 x 793 px |
| Quality | /printer | 300 ppi | 2480 x 1754 px, unchanged |
| Print production | /prepress | 300 ppi | 2480 x 1754 px, unchanged |
Two things from the Ghostscript documentation are worth knowing. Using any preset "will involve altering the input", and /prepress "does not indicate the highest quality conversion"; the output closest to the original comes from no preset at all. So "Print production" means print-shop settings, not "untouched".
Measured sizes on three kinds of file
I built three test files and ran each through all four levels. The photo file has four A4 pages, each with one large camera-style JPEG. The text file has ten pages of body text in Helvetica, referenced but not embedded. The scan file has three A4 pages, each a 300 ppi grayscale JPEG with no text layer, the way office scanners save documents. Percentages are bytes saved divided by the original size, the same way the result page shows them; a negative figure means the output grew.
| Sample | Original | Aggressive | Balanced | Quality | Print production |
|---|---|---|---|---|---|
| Photo pages, 4 pages | 5.78 MB | 97.8 KB (98.3%) | 324.9 KB (94.5%) | 5.78 MB (-0.1%) | 5.78 MB (0.0%) |
| Body text, 10 pages | 17.6 KB | 11.4 KB (35.4%) | 11.3 KB (35.9%) | 20.2 KB (-15.1%) | 17.0 KB (3.4%) |
| Grayscale scan, 3 pages | 3.17 MB | 298.6 KB (90.8%) | 809.7 KB (75.1%) | 3.17 MB (0.2%) | 3.17 MB (0.2%) |
Read across the photo row and the pattern is clear: the two 300 ppi levels left a 332 ppi photo alone, so the file barely moved. Balanced cut it by 94.5% while keeping the images at 150 ppi. Ticking Convert to grayscale with Balanced took the photo file from 324.9 KB to 270.7 KB and the scan from 809.7 KB to 706.9 KB, but colour is gone for good in that copy. Each run finished in under 10 seconds on a laptop; the server stops a job after 300 seconds, so a very long image-heavy file may need the splitter first.
Why a compressed file can grow
The text sample grew by 15.1% under Quality. Before the rewrite, pdffonts listed Helvetica and Helvetica-Bold as not embedded; the file relied on the reader to supply them. Ghostscript's documentation says the /printer and /prepress presets embed all fonts, while /screen and /ebook never embed the fourteen standard fonts. So the Quality copy carries font data the original never had. It now looks the same on every device, at the cost of a bigger file.
My 12.95 KB sample.pdf grew under Balanced for a less tidy reason: there was simply nothing to compress. Images already at or below the target are decoded and written out again, every page description is rewritten, and the output can land a little either side of the original. When the result page shows a negative saving, keep the original and move on.
Step by step
- Keep a copy of the original. Compression is a one-way trip.
- Open the optimizer and drop the file where it says Drop your PDF here, or click to browse. Files can be up to 50 MB on the Free plan and 100 MB on Pro and AI.
- Under Compression Level, start with Balanced for anything read on screen, or Quality if it will be printed.
- Open Additional options if you want Convert to grayscale for colour scans of black text, or Clear document information fields to blank the title, author, subject, keywords and creator.
- Click Optimize PDF. The result shows the original size, the new size, the bytes saved and the percentage.
- Download the copy. It keeps your file name with
_optimizedadded, for examplereport_optimized.pdf, and the link works for 24 hours.
Check what changed before you replace anything
Open the original and the copy side by side at 100% and 200%. Fine print and small table figures should still be crisp; photos should show no blocky patches or banding; links, bookmarks and page order should match. Then there are changes that are certain rather than possible, because Ghostscript writes a new document instead of editing yours:
- Digital signatures are removed, not just broken. A signed test file that
pdfsigreported as valid came back with no signature at all. Check with the signature checker first if in doubt. - In my test, bookmarks and web links survived, but a fillable text field was dropped.
- Aggressive and Balanced stored the grayscale scan as three-channel RGB images. With the grayscale option ticked, the pages stayed single-channel gray.
- The output is PDF 1.4 and the Producer field reads GPL Ghostscript with its version number. Any PDF/A conformance must be retested with the PDF/A validator.
- A file that needs a password to open is refused. Remove the password, compress, then add it back with the password tool.
- Clear document information fields blanks the Info fields and, in my test, wrote matching empty values into the XMP stream. For a fuller clean-up use the metadata remover.
When not to compress
- Signed documents, unless you can sign again afterwards.
- Files that must stay identical: evidence, or anything whose checksum someone has recorded.
- Print artwork where the print shop gave you export settings. Use theirs.
- Small text-only files. Look at the text row in the table above; the best case saved 6 KB.
Doing it without PDFCheck
If Ghostscript is installed on your machine, the Balanced level is this one command, and nothing leaves your computer:
gs -sDEVICE=pdfwrite -dCompatibilityLevel=1.4 -dPDFSETTINGS=/ebook -dNOPAUSE -dQUIET -dBATCH -dDetectDuplicateImages=true -dCompressFonts=true -dSubsetFonts=true -sOutputFile=output.pdf input.pdf
Swap /ebook for /screen, /printer or /prepress for the other levels. To see what a run did, the Poppler tools help: pdfimages -list shows image sizes before and after, pdffonts shows which fonts are embedded, and pdfsig shows whether a signature survived. Acrobat and macOS Preview have their own reduce-size exports; whichever you use, the rule is the same. Compare the copy with the original before you delete either.